Before decorative finishing work begins on the facade or in the interior, all surfaces must be leveled. One of the oldest ways to give walls or ceilings the correct geometric shape is plaster. Therefore, one of the main and voluminous stages in the rough finish will be work related to the puttying of surfaces.
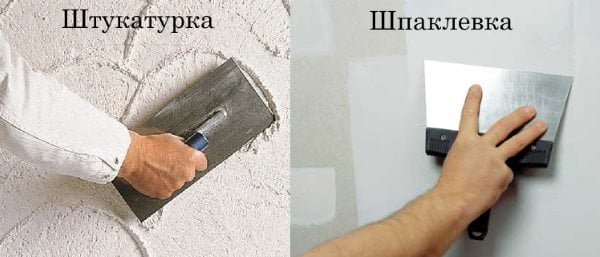
Plaster and putty, what’s the difference
Finishing work in the premises associated with plastering and puttying is aimed at the geometric alignment of surfaces. Therefore, the question often arises: What is the difference between putty and plaster, and what is the function of each of these materials?
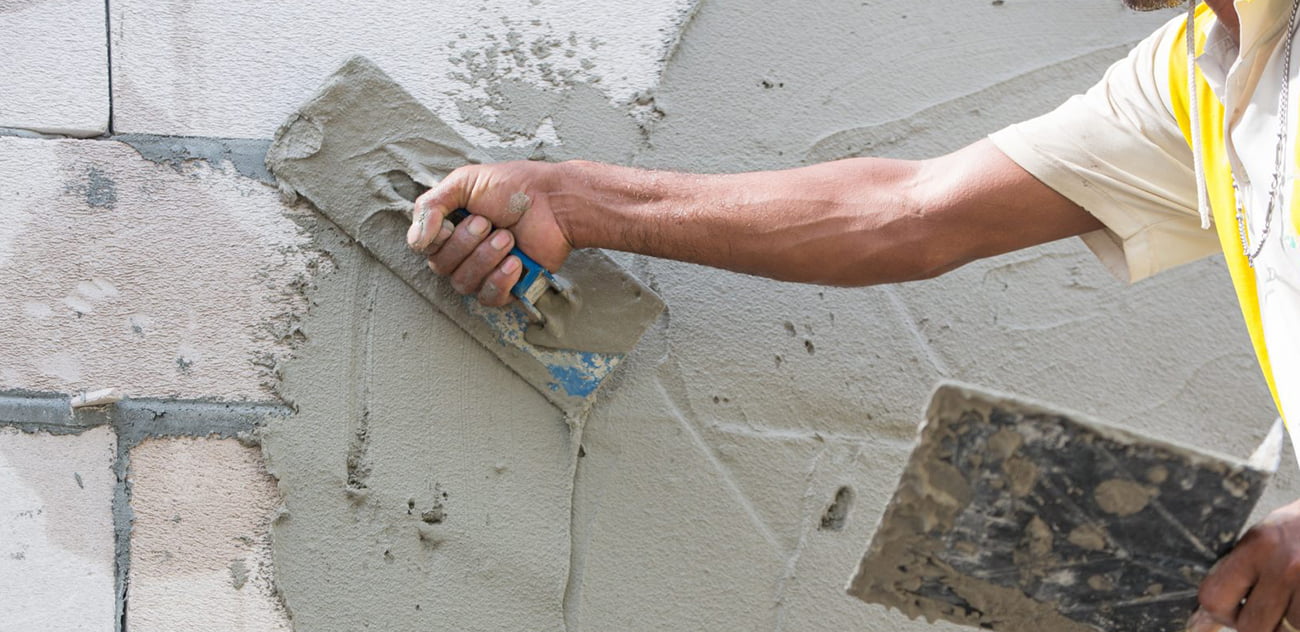
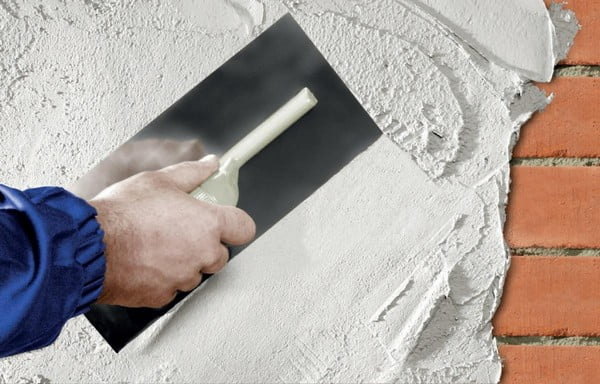
Plaster is a coarse-grained, sandy mixture that serves for rough surface finishing (except for gypsum). With the help of plaster, a leveling layer is formed, which allows you to correct significant curvature, depressions, and cracks.
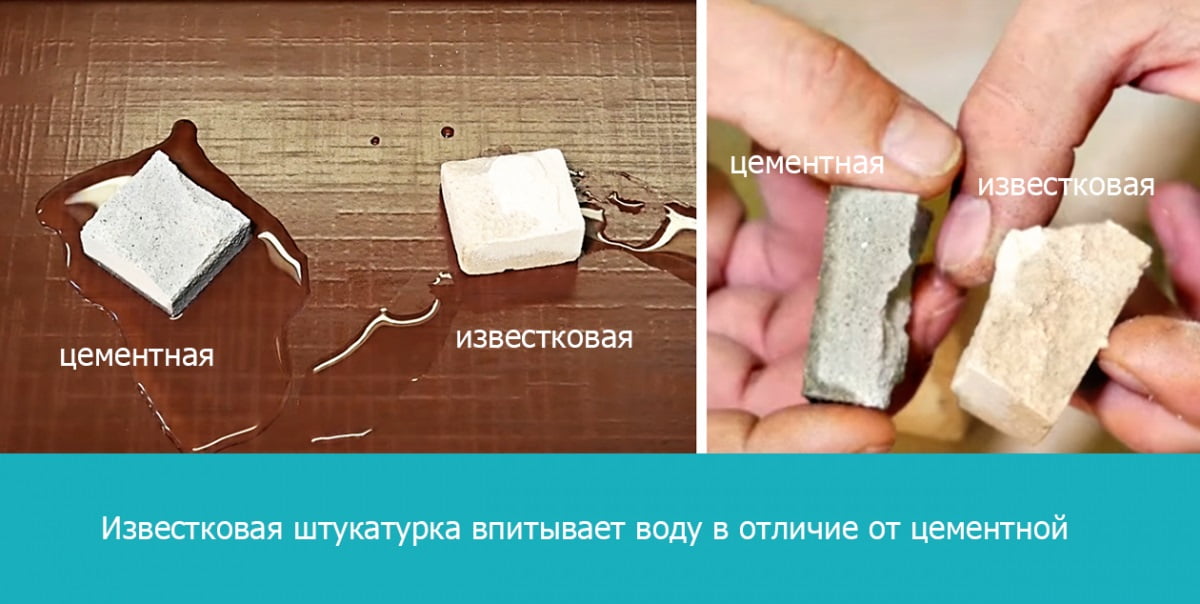
Plaster is used to finish interior and exterior walls and provides additional insulation. Plaster mixtures can be applied in sufficiently thick layers. The cost of such mixtures is relatively low. However, due to the large amount of sand in the composition of plaster mixtures, it is not possible to apply decorative finishing materials (paints and wallpapers) to such surfaces, since the large pores of the plastered surface will completely absorb glue and moisture.
However, some types of plaster have decorative properties and are applied as independent coatings, such as Venetian plaster or facade bark beetle.
Putty is a more expensive mixture that is applied thinly to even out minor imperfections before applying fine finish decorative elements such as paint or wallpaper.
Stucco types
Stucco mixtures can be classified according to several criteria. The most common is the division by composition, namely by the type of binder.
Gypsum plaster
Such a building and finishing material is made based on gypsum with the addition of various polymers and minerals. Thanks to such modifying additives, the mixture is easy to apply, sets well, dries quickly, and is durable.
This type of plaster is universal. With the help of such material, it is possible to perform work on surfaces made of concrete, brick, and aerated concrete.
Gypsum plaster mixtures are starting and finishing. They differ in the degree of graininess and plasticity.
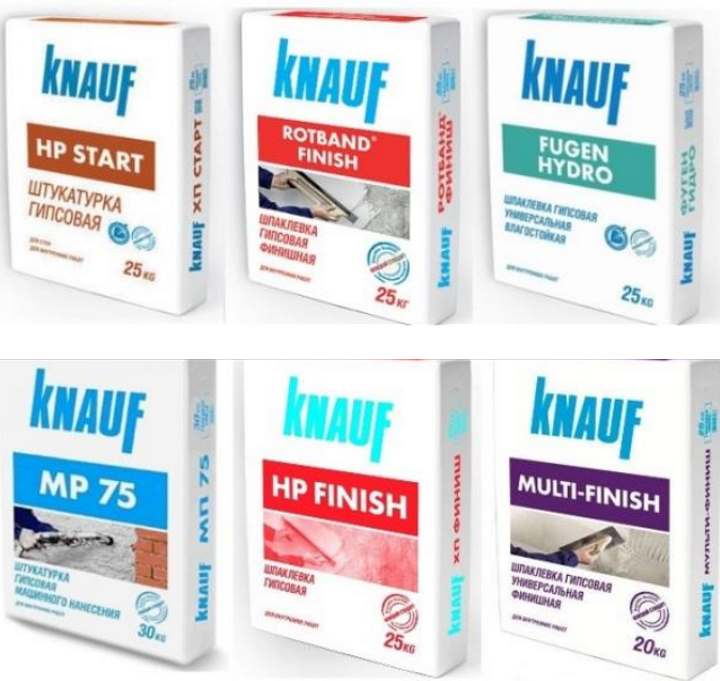
Gypsum plasters have their advantages and disadvantages. So, as the advantages of these mixtures, one can note their environmental friendliness, noise, and heat insulation properties, insensitivity to high temperatures, high adhesion to other materials, and whiteness.
However, the disadvantages of gypsum plaster should also be considered. These include instability due to mechanical damage and high humidity.
This type of putty is not suitable for finishing facades and bathrooms.
Cement-sand plaster (DSP)
This type of plaster is the most common and budgeted. If we are talking about a small plastering area, then you can purchase bags with the finished mixture. However, for large volumes of work, the DSP is kneaded independently with a construction mixer or a concrete mixer.
The binder in such plaster is cement, which is mixed with building sand. For the manufacture of the plaster mixture, sulfate-resistant types of cement and pozzolanic are used.
For wall plastering, the standard formulation for the finishing mix is 1 bag of cement to 3 bags of sand (applies to buckets).
To improve the technical characteristics of cement-sand plaster, additional binders can be added to the mixture, such as PVA glue, marble flour, barite, lime paste, mica, polystyrene foam, or metal shavings.
DSP has established itself as a durable, strong, cost-effective, temperature-resistant rough finish for leveling all types of surfaces.
Only cement-sand plaster is suitable for facade and bathroom applications.
Cement-lime plaster (CIS)
Although many builders distinguish CIS as a separate type of plaster mix it is a kind of cement-sand mortar, to which slaked lime is added.

Walls plastered with such material acquire heat-insulating and refractory qualities. CIS is more flexible and dries very quickly when applied to walls. However, if you place the CIS in a closed container, it will be usable for almost 24 hours.
Among the shortcomings of such a mixture, it is worth noting its “dislike” for moisture, which means it cannot be used for external work and in rooms with high humidity.
Where what kind of plaster is used
To understand which composition of the plaster solution to give preference to, it is necessary to continue the classification according to the criterion “purpose”. So, according to the functional purpose, all mixtures of plaster are divided into the following varieties:
- Coated plaster. In this case, plastering has leveling, heat, and noise insulation values. It is the base for applying decorative materials: wallpaper, putty, paint, wood, and stone finishing elements.
- Decorative plaster. Here plastering works are both the start and the finish line. Through the use of plaster mixtures, it is possible not only to level the surface of a wall, ceiling, or floor but also to assign a decorative function to it. As a rule, such plasters contain additional additives in the form of polymers, minerals, silicones, and silicates. They make surfaces invulnerable to temperatures, UV, and moisture. In addition, they have a rich color palette and a variety of textures.

For basic (starting) finishing work, both indoors and on outdoor surfaces, cement-sand mortars are used. With the help of them, you can perform any draft and finishing work. This type of plaster is perhaps the most difficult to apply, but the most practical.
Solutions based on lime (CIS) and gypsum are used exclusively for starting or finishing interiors with low levels of humidity. Work with these types of plasters is possible only at positive temperatures, preferably above 5 degrees.
Plaster without beacons, by beacons
Plaster without beacons
Plastering works without the use of beacons are carried out if the unevenness of the walls is no more than one and a half centimeters, or if the task of perfectly leveling the surface is not set.
When choosing this technology, it is worth knowing about its advantages and disadvantages.
The positive aspects of this method are:
- saving money on the purchase of materials and fasteners for creating beacons;
- saving time for installing beacons;
- less consumption of plaster mixture due to the application of a thin layer of mortar;
- a thin layer of plaster takes up less space in the room;
- Plaster applied in a thin layer dries faster, shrinks less and therefore reduces the risk of cracking.
Despite these advantages, plaster without beacons has several disadvantages:
- for this technique you need to have experience, and not every beginner can do this work;
- as a result, the surface will not be perfectly even and smooth.
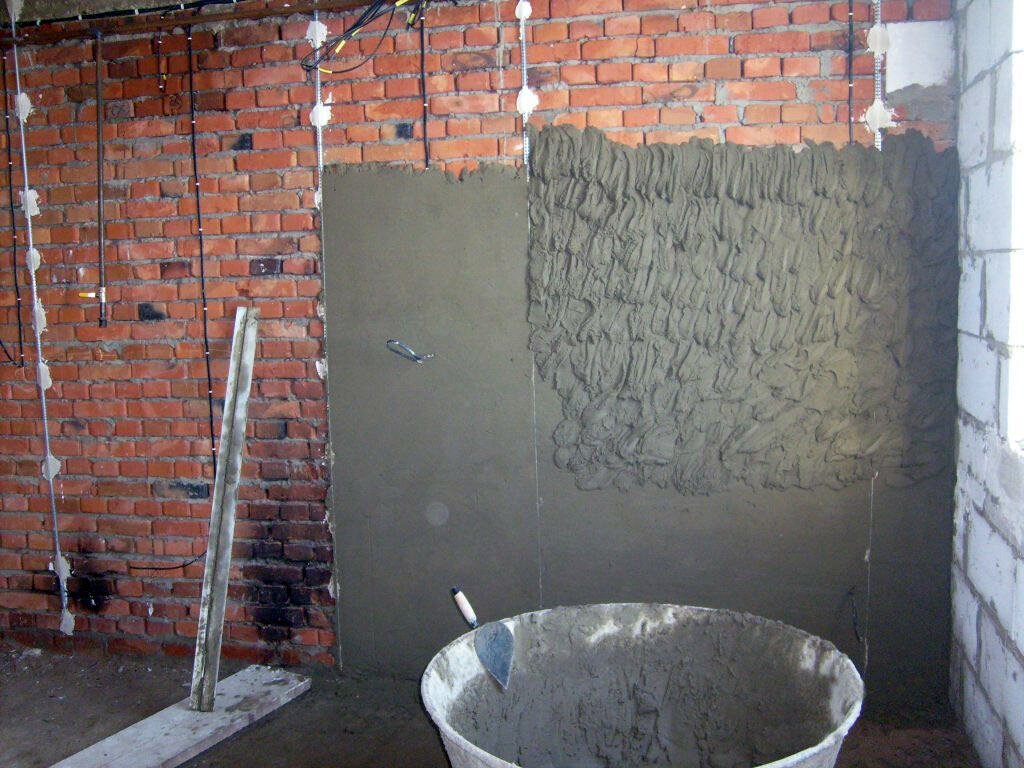
Plastering on beacons
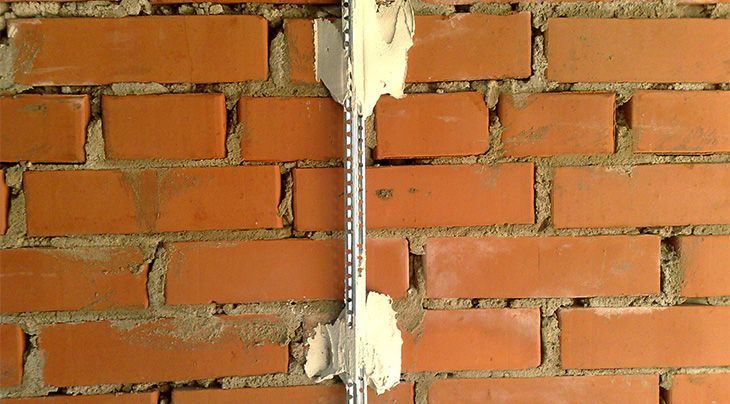
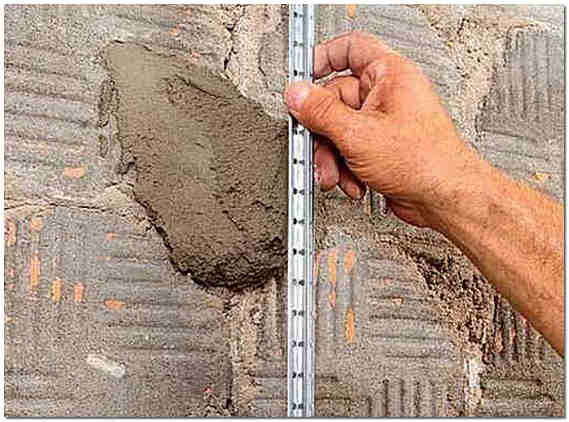
In finishing works, “beacons” mean guides for moving the rules, made of various materials (plastic, mortar, metal), which enable the master to withstand the required thickness when applying a solution for leveling surfaces.
Plastering technology using beacons makes it possible to maximize the alignment of horizontal and vertical surfaces. It is applicable for external and internal works and surfaces with any differences and defects.
The technique of applying plaster on lighthouses has been perfected for centuries, and any objects that set evenness can be used as lighthouses – from a laser level to an ordinary thread. However, in modern construction, preference is given to such types of lighthouses.
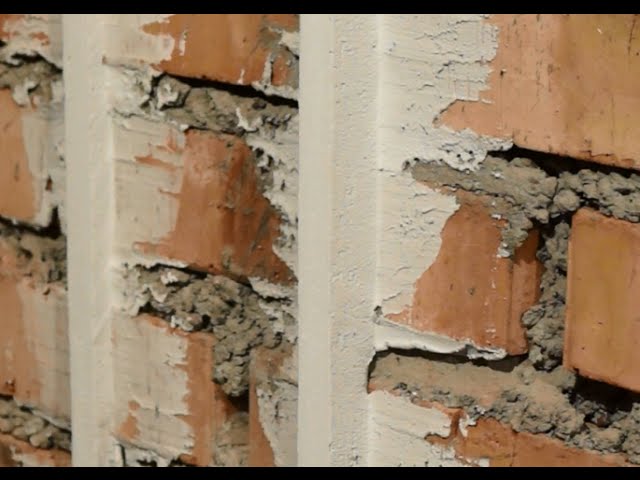
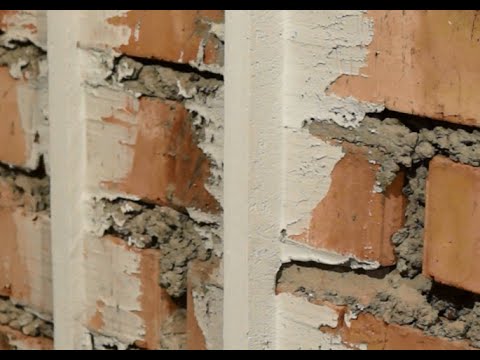
Metal beacons
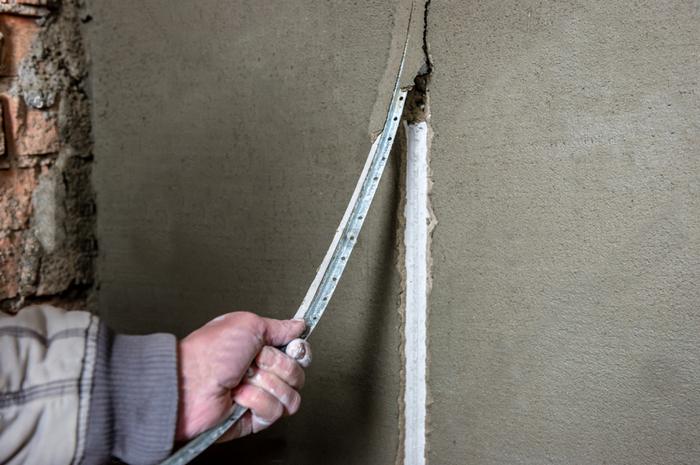
Metal beacons are slats measuring six or ten millimeters in thickness, which are made of soft metals such as galvanized steel, iron, and aluminum.
The size of the rail for the beacon depends on the level of surface roughness. The greater the surface differences, the thicker the rail should be. The metal beacon is installed perpendicular to the floor, aligned with a plumb line, and attached to the wall using fasteners or mortar.
If we are talking about plastering horizontal surfaces (floor, ceiling), then the side wall will serve as a perpendicular.
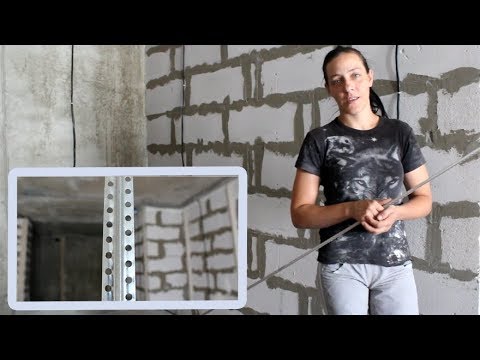
Any beginner can handle metal beacons. They are easy to cut and install. However, they are made of soft metals and should be handled carefully so as not to bend or damage the plane. In addition, the metal tends to rust, so after the plastering work is completed, such beacons will have to be removed.
Currently, as a replacement for metal beacons, they produce plastic beacons with the same properties. Plastic beacons can not be dismantled but left on a plastered wall.
Mortar beacons
Mortar beacons are made independently from the same mixture that is used for plastering.
Experienced craftsmen prefer to use such beacons in cases where the thickness of the plaster layer is less than the thickness of the metal beacon. And also for work on rough leveling of the floor.
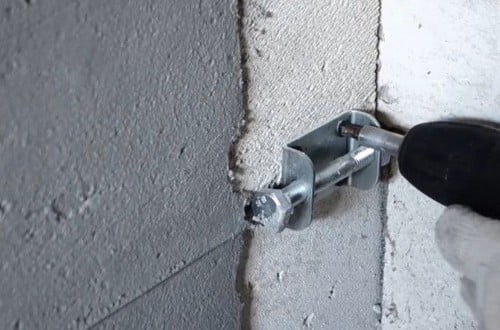
String Beacons
This type of beacon is the simplest. You can make them yourself using corners with fasteners and wire 2 mm thick. A fast and excellent solution for working in large rooms, allowing you to achieve a perfect leveling of the surface.
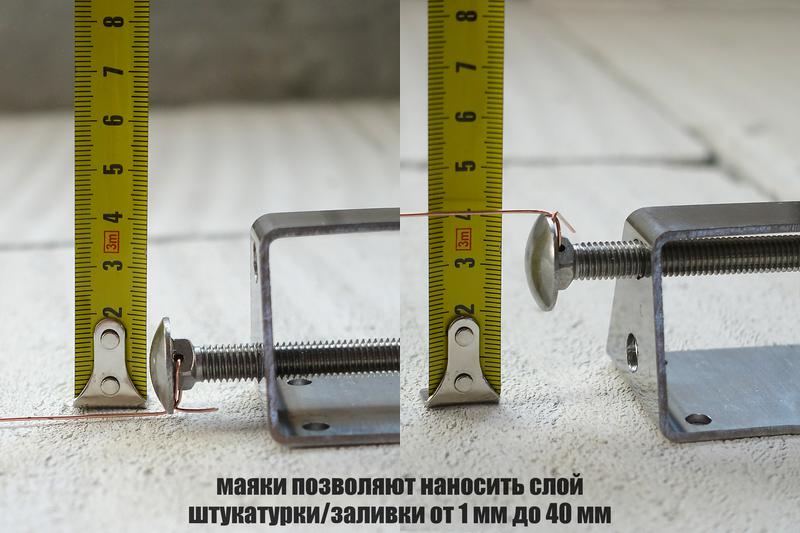
Corners are screwed on both sides of the wall. A bolt is screwed into them, to which a wire is attached. The bolts are turned to pull the wire into the string.
A plaster mortar is applied under the string, excess is removed and left to dry. After the solution hardens, the beacons are ready for use.
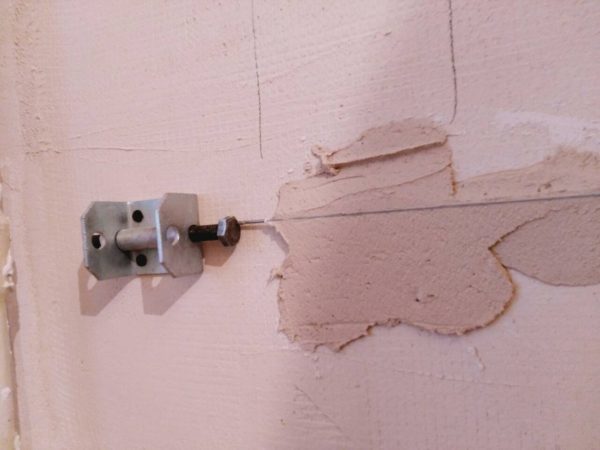
After plastering, the string is pulled out of the plaster and can be reused.
Step-by-step instructions for applying plaster
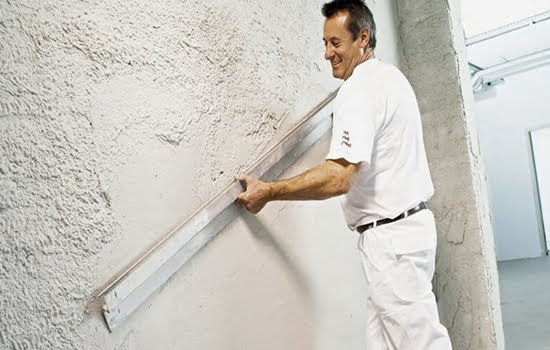
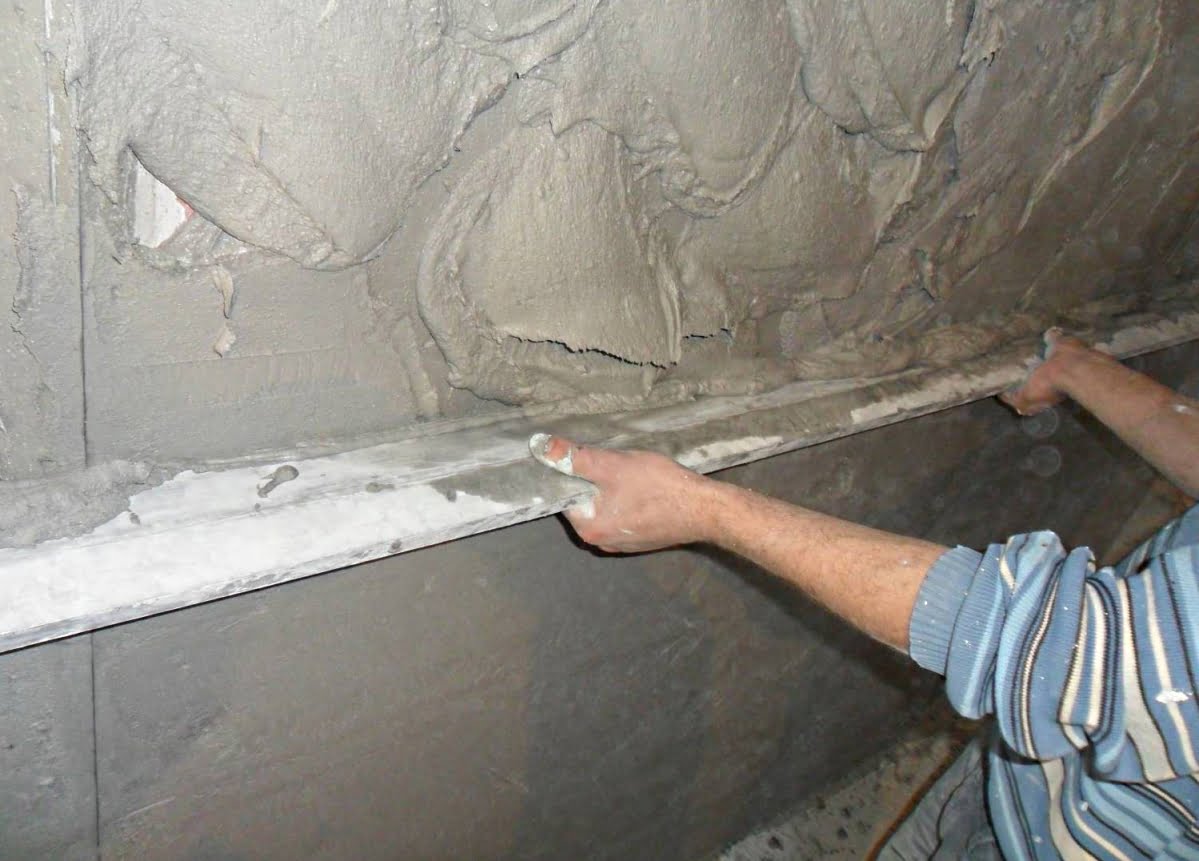
When starting plastering work, you should stock up not only with materials for mixing the mortar but also with tools. These include a spatula, with which the plaster solution is applied to the surface, and a plaster rule, which forms the surface plane.
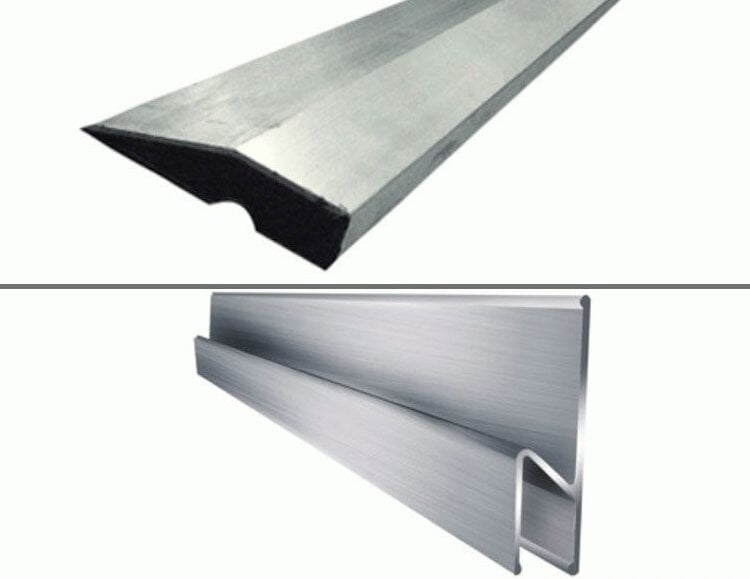
Note that the plaster rule should be h-shaped, not trapezoidal. They have different purposes. h-shaped for applying plaster, trapezoidal – for trimming excess and influx of plaster.
Work sequence:
- preliminary surface preparation – the wall needs to be cleaned and dedusted
- for better adhesion of materials, the surface should be primed and allowed to dry for 2 to 4 hours
- if the technology of plastering “by beacons” is selected – set those
- apply the first coat by spreading the mortar with a spatula or trowel between the beacons
- after the entire wall is covered with plaster, the applied layer is leveled with a small length rule.
To level the surface and compact the plaster, you should move strictly along the lighthouses, moving the rule with a slightly “trembling” movement.
The excess solution that remains on the rule after smoothing must be thrown back onto the surface and the work process continued.
After the surface is completely covered with mortar and leveled, it must be allowed to dry for about ten hours. If beacons were used during the work, then after the initial setting of the plaster, it must be cut with a trapezoidal rule. Then you should take out the beacons, fill and level the space left after the beacons with the same plaster composition.

Allow 24 hours for the surface to dry and shrink.
If after applying the first layer it is not possible to obtain a perfectly flat surface, then you can apply a second, thinner layer of putty and correct the shortcomings. After complete drying, the puttied surface can be sanded with coarse sandpaper.
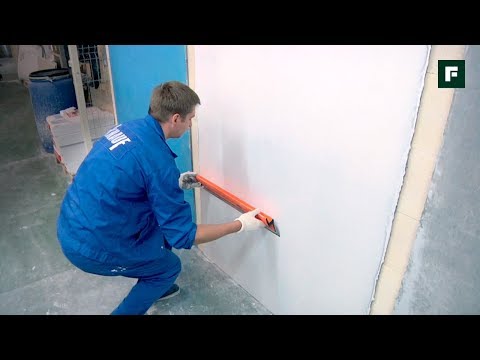
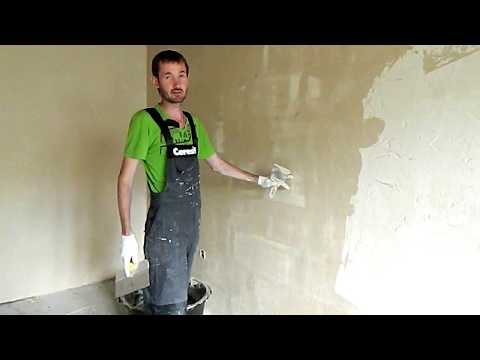
How to plaster walls properly. Video tutorial